Neutral Density (ND) filters are an essential tool for photographers and videographers looking to control light in their shots. They allow you to use wider apertures, slower shutter speeds, and maintain proper exposure in bright conditions. For beginners, understanding ND filters can be daunting, but this guide will simplify the process and help you choose the perfect filter for your needs.
What Is an ND Filter?
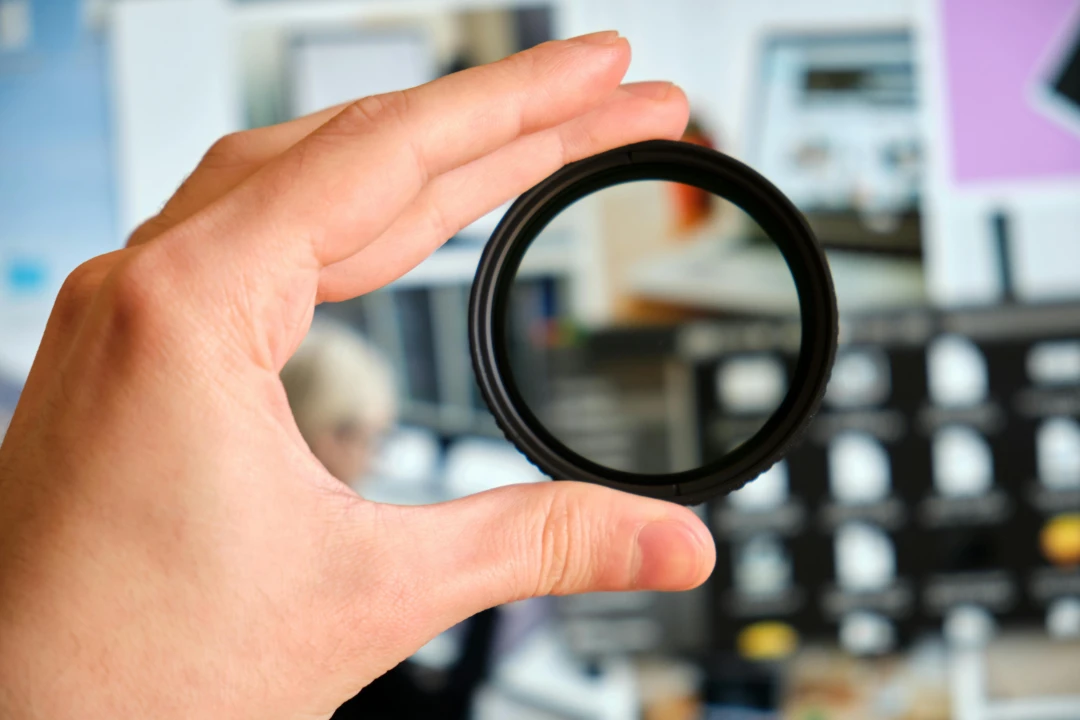
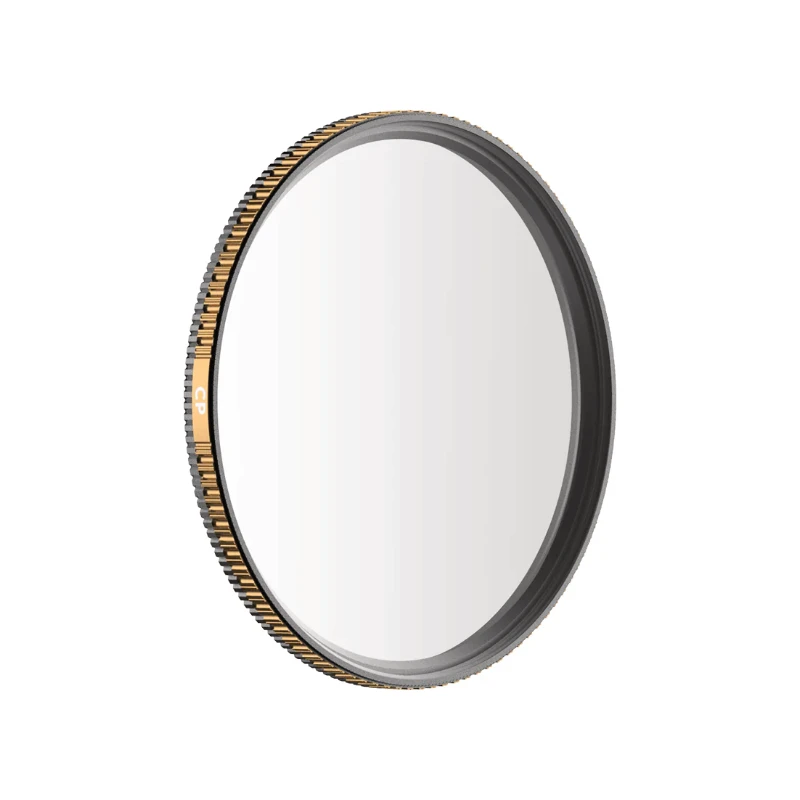
An ND filter is a piece of darkened glass or resin that reduces the amount of light entering your camera’s lens. Think of it like sunglasses for your camera. By cutting down the light, ND filters let you shoot in bright environments without overexposing your images or video.
Why Use an ND Filter?
ND filters are commonly used for:
- Long Exposure Photography: Achieve motion blur in waterfalls, rivers, or clouds by using slower shutter speeds.
- Wide Apertures in Bright Light: Create beautiful bokeh effects in bright conditions by keeping the aperture wide open.
- Cinematic Videography: Maintain the correct shutter speed for natural motion blur while filming in daylight.
Types of ND Filters
1. Fixed ND Filters
- These have a single light-reduction level (e.g., ND4, ND8, ND64).
- Best for specific shooting conditions.
2. Variable ND Filters
- These allow you to adjust light reduction by rotating the filter, offering more flexibility.
- Ideal for videographers who need to adapt quickly to changing light.
3. Graduated ND Filters
- These filters have a gradient, darkening only part of the frame.
- Perfect for balancing bright skies and darker landscapes in one shot.
How to Choose the Right ND Filter
1. Determine the Level of Light Reduction Needed
ND filters are labeled with numbers that indicate their light reduction strength. Common options include:
- ND4 (2 Stops): Slightly reduces light for subtle adjustments.
- ND8 (3 Stops): Good for bright conditions with moderate light reduction.
- ND64 (6 Stops): Ideal for long exposures or shooting in harsh daylight.
- ND1000 (10 Stops): Perfect for extreme long exposures, like capturing light trails or smoothing water.
2. Choose Fixed vs. Variable Filters
If you frequently shoot in changing lighting conditions, a variable ND filter offers greater flexibility. Fixed ND filters, however, are often more affordable and produce sharper images.
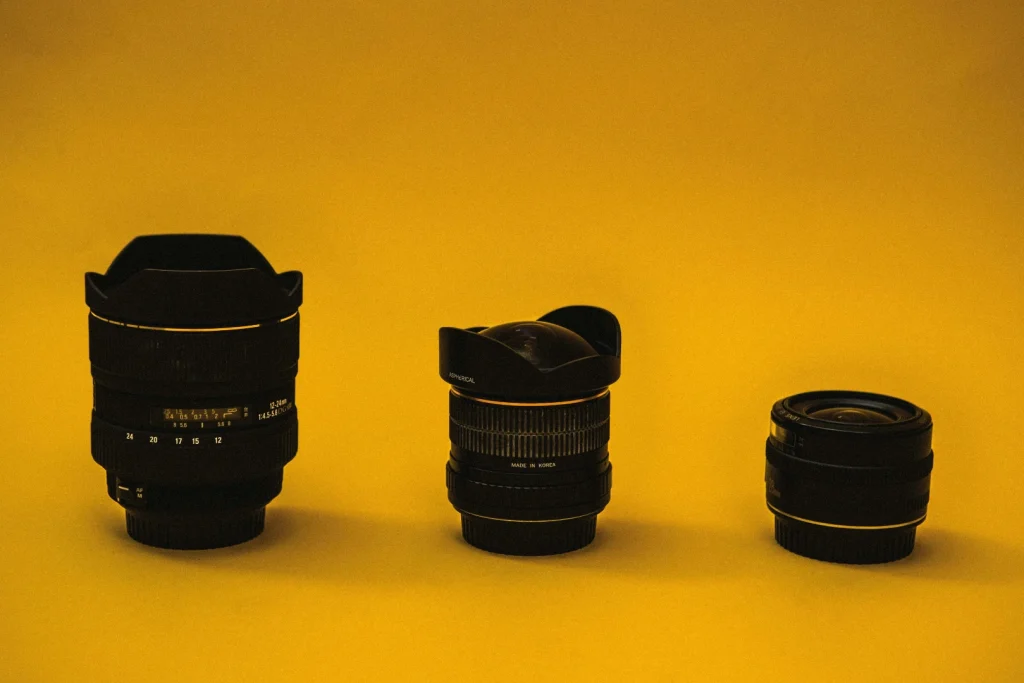
3. Consider Lens Thread Size
ND filters attach to the front of your lens, so it’s essential to know your lens thread size (measured in millimeters, e.g., 67mm or 77mm). You can usually find this information on your lens or in its manual.
4. Quality Matters
Invest in high-quality filters to avoid issues like color casts, vignetting, or image degradation. Reputable brands like PolarPro, Tiffen, and Hoya are known for their optical clarity.
Top Recommendations for Beginners
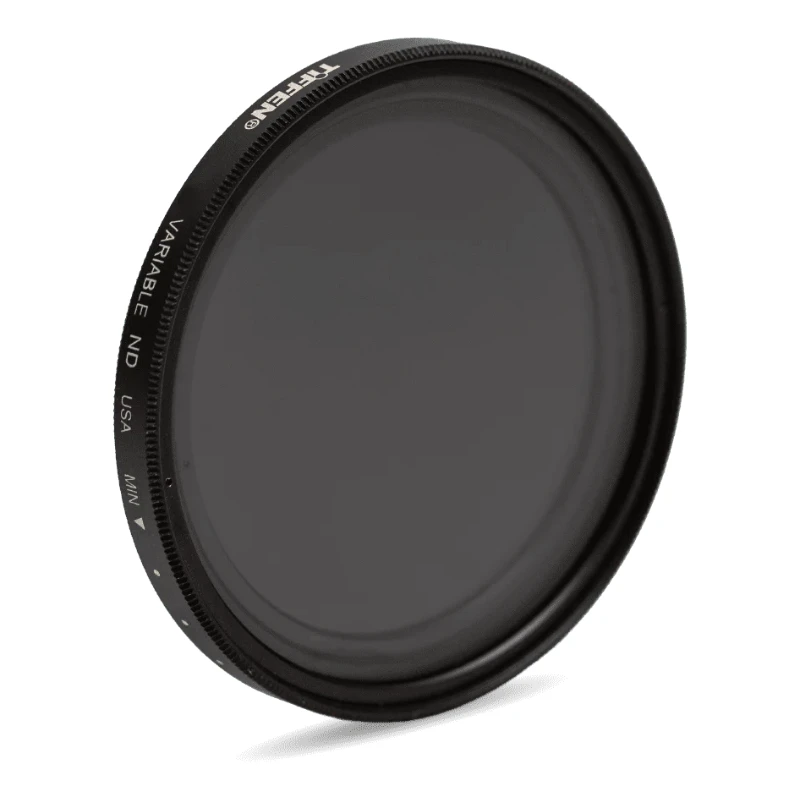
Tiffen Variable ND Filter
A budget-friendly option with reliable performance.
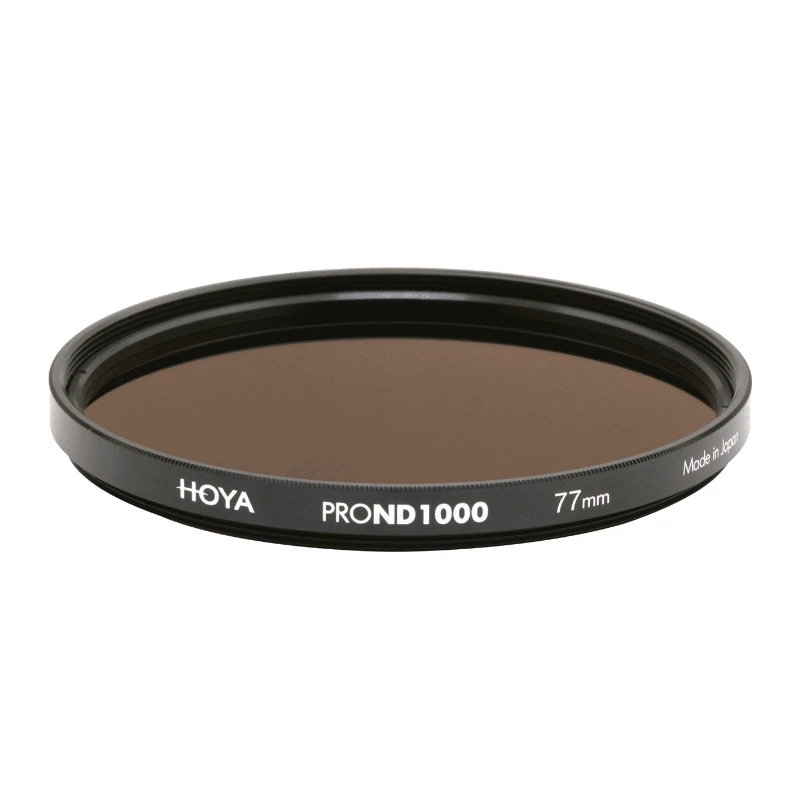
Hoya ProND1000
Excellent for long exposure photography with minimal color cast.
PolarPro Quartzline ND8
High-quality glass construction and durable coating for videographers.
Using an ND Filter: Tips and Tricks
- Use a Tripod for Long Exposures: A sturdy tripod ensures stability when using slow shutter speeds.
- Test Your Filter in Different Conditions: Experiment with various settings to understand how light reduction impacts your shots.
- Check for Color Casts: Higher-quality filters minimize unwanted color shifts. If needed, color-correct during post-processing.
Conclusion
ND filters are a game-changer for photographers and videographers who want greater creative control over their shots. By understanding the different types and choosing one that suits your needs, you’ll unlock new possibilities in your work. Whether you’re capturing stunning landscapes or shooting cinematic videos, an ND filter is a worthwhile addition to your kit.