Setting up a home studio for YouTube is essential for creators who want to produce high-quality content. A well-equipped studio gives your videos a professional look, improves audio clarity, and ensures your workflow is efficient. Whether you’re a beginner or an experienced YouTuber, this guide will walk you through the essential gear and tips needed to build the perfect home studio on any budget.
1. Choose the Right Space
The first step to setting up your home studio is selecting the right space. Ideally, you want a quiet, well-lit room that allows for good audio quality and minimal interruptions. Look for spaces that have:
- Good natural light: Windows can provide excellent lighting for your videos.
- Minimal echo: Rooms with carpets, curtains, or soundproofing are best for recording audio.
If you’re shooting videos regularly, consider dedicating a specific corner or room to your studio to minimize setup time.
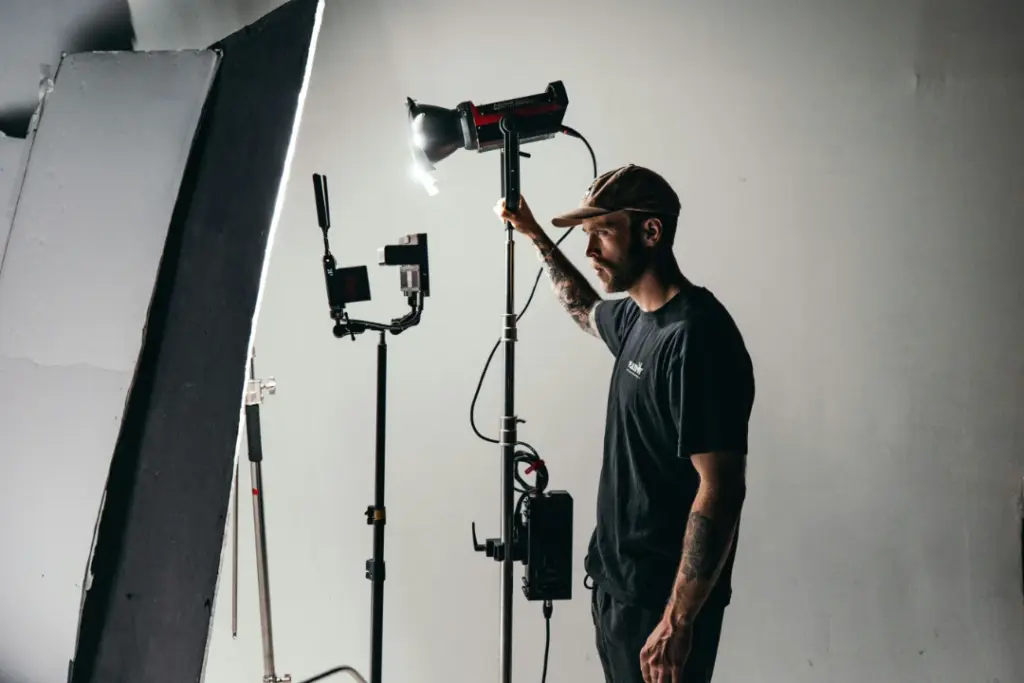
2. Essential Lighting Setup
Lighting can make a huge difference in the quality of your videos. Even if you have a high-quality camera, poor lighting can lead to unprofessional results. Here’s how to set up your lights for optimal results:
- Ring Light: A ring light provides soft, even lighting that’s perfect for talking headshots or makeup tutorials. Look for one with adjustable brightness and color temperature.
- Softbox Lights: If you want a more professional setup, softbox lights are a great option. They diffuse light and reduce harsh shadows, making them ideal for shooting interviews or tutorials.
- Natural Light: If you’re on a budget, place your camera facing a large window and take advantage of natural daylight.
Tip: Position your lights at a 45-degree angle to your face for flattering, soft lighting that eliminates harsh shadows.
3. Camera and Audio Gear
Investing in good camera and audio equipment will significantly elevate your video quality.
Camera:
- Entry-Level: If you’re just starting, a compact camera or even a smartphone with a decent camera will work. iPhones and Google Pixels are popular choices.
- Mid-Range: Consider a mirrorless camera like the Sony A6100 or Canon M50 Mark II for better video quality, more control over depth of field, and the ability to swap lenses.
- Professional: For top-tier video production, cameras like the Sony A7 IV or Canon EOS R5 are excellent choices, especially for creators who also want to shoot in 4K.
Microphone:
Audio quality is just as important as video. Poor sound can turn viewers away, even if your visuals are great.
- Lavalier Mic: Affordable, discreet, and ideal for interviews or solo vlogs. The Rode Wireless Go II is a popular choice.
- Shotgun Mic: A Rode VideoMic Pro or Deity D3 Pro is perfect for directional audio capture, minimizing background noise.
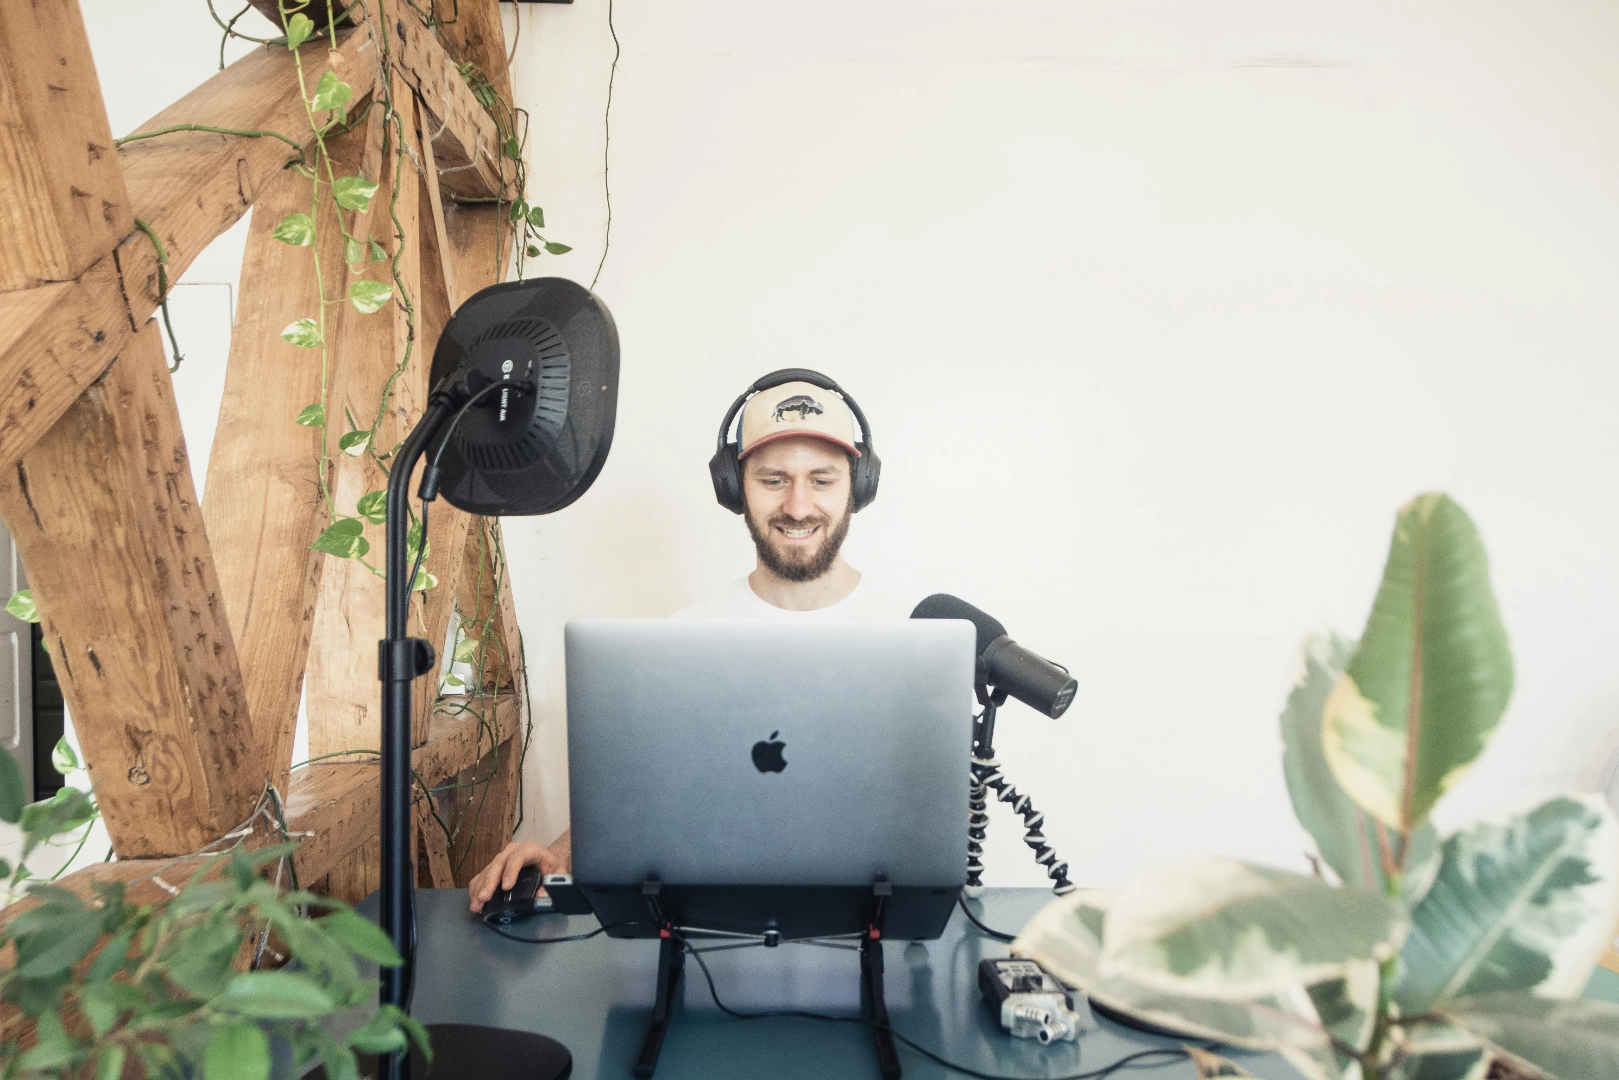
- USB Condenser Mic: If you’re sitting at a desk (like for gaming or tutorials), a Blue Yeti or Elgato Wave 3 will give you great sound quality with easy plug-and-play functionality.
4. Tripod and Camera Stabilization
Keeping your camera steady is key to producing professional-looking videos. Whether you’re filming with a camera or smartphone, a tripod or gimbal will help eliminate shaky footage.
- Tripod: A sturdy tripod with adjustable height like the Manfrotto Befree is a great investment for static shots.
- Gimbal: If you’re moving while filming, a gimbal like the DJI Ronin-S will stabilize your footage and create smooth cinematic shots.
5. Background and Set Design
Your background plays a key role in setting the tone for your videos. It should be visually appealing but not distracting.
- Backdrop: Use solid-colored backdrops or natural backgrounds to keep the focus on you. A pop-up backdrop is a versatile option that’s easy to set up and store.
- Props and Decor: Add personal elements like plants, bookshelves, or framed artwork that reflect your personality or the theme of your channel.
- Lighting the Background: Use RGB lights or LED strips to add a splash of color or create visual interest in the background without overwhelming the scene.
6. Editing Software and Workflow
Post-production is where your raw footage comes together. Whether you’re editing on a PC or Mac, there are several software options to suit your skill level.
- Beginner: iMovie (Mac) or HitFilm Express (Windows) are free, user-friendly options that provide basic video editing tools.
- Intermediate: Adobe Premiere Pro or Final Cut Pro X offer advanced editing features, such as color grading, multi-cam editing, and more.
- Advanced: For more complex edits and professional-grade work, DaVinci Resolve offers powerful editing, color correction, and audio tools for free or through its Studio version.
7. Tips for Optimizing Your Workflow
- Use Pre-sets: Save your lighting and camera settings as pre-sets so that you don’t have to manually adjust them every time.
- Batch Shoot: Record multiple videos in one session to maximize efficiency.
- Organize Footage: Label and organize your video files before editing to streamline the post-production process.
Conclusion
Setting up a home studio for YouTube doesn’t have to be expensive or complicated. With the right space, gear, and a few simple techniques, you can produce high-quality content that elevates your channel and engages your audience. Whether you’re on a tight budget or ready to invest in premium equipment, these tips will help you create a professional-grade studio that’s optimized for productivity and creativity.